You came up with a great idea! In your head, you can clearly visualize the video that is a part of a great video marketing campaign. You map out the story to your team, everybody is excited, and the work starts.
You write the script, finalize on the characters and the production begins. World domination and business growth are just a few days away. You launch the video, and nothing feels better than hitting that upload button.
But wait, this doesn’t look like what you had initially planned. And neither is it giving the results you had in mind.
What went wrong? The elements in each frame don’t look like what you had picturized in your head?
 Ah! Should have created the storyboard!
Creating a storyboard isn’t rocket science and neither does it take Pixar level creative skills. Let’s be honest, you are not making the next animated blockbuster. You are making a B2B marketing video that will drive sales or promote brand awareness.
Be simple, put all the elements that you need in each frame and no, you don’t need to be very artsy. Basic sketches that make people understand your frames works.
For those who are still wondering what a storyboard is? Here’s a little insight. For those who do, you can skip to the steps for creating a storyboard for your marketing video.
So, what’s a storyboard?
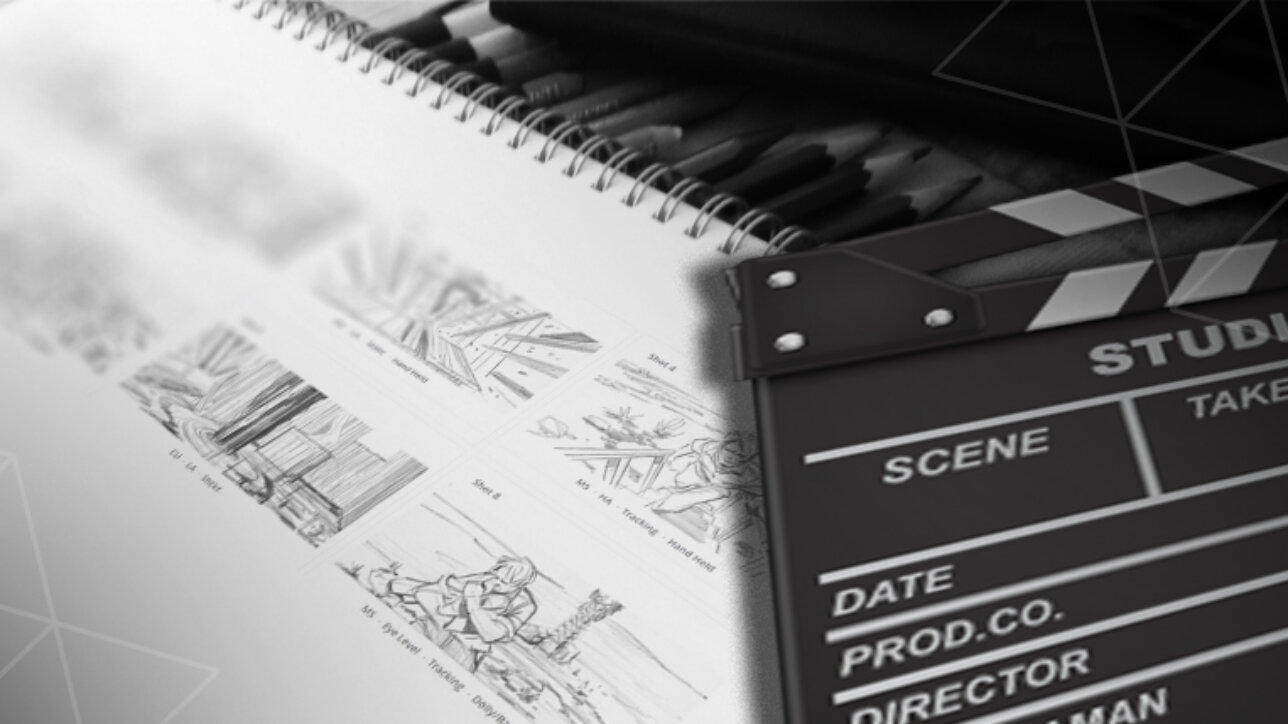
A storyboard is a piece of paper or a digital drawing with boxes drawn on it that represent each shot of your video. These boxes or frames contain the characters, the elements and the camera perspective of each shot. These can either be elaborate creations or just rough sketches. The sole purpose is to outline each shot so that it’s easy for the director, the camera person and the editor to be on the same page as you and put the video together like you planned it to be.

There are many people and production companies that do elaborate sketches and spend a lot of time on storyboards to an extent where they can superimpose their storyboard images on the final video, and they almost match. However, for a marketing video, you don’t have to do so much. Rough sketches work, and here’s how to create them:
Start with Basics
Most professional companies start off their storyboards with pencil and paper or draw on the whiteboard where everyone pitches their ideas. Whatsoever you choose, DO NOT start with a computer software imaging even if it’s in MS Paint. Drawing even a simple sketch figure will take ages on that.
You can get your final storyboard made on software, but for first drafts, we advise you to use hand-drawn sketches, where it’s easier to make changes on the design as people pitch their ideas and put up different perspectives.
Hero’s Journey
If your story for the marketing video revolves around a character, map out his journey before you start making the storyboard. Figure out the story arc and its progression.
Here’s an example:
- Meet the Hero, Max.
- Max has a problem.
- Because of his problem, he is unable to cope with his work.
- He tries a lot of solutions, but they don’t work for him.
- Then he found a solution which helped him like this_____
- Max gets his positive, emotional pay-off + CTA.
Problem – Agitate – Solve
If your video is about one of your products/services aka minus a central character – the idea is to stress on a problem that the user/consumer faces, keep pushing on it so and finally reveal the solution.
Here’s how to break this one down:
- Do you have this problem?
- Here’s what makes it worse.
- Our solution will solve your big problem.
- Customer testimonials are the proof.
- Benefit recap and CTA
Establish Scenes
Once the storyline is finalized, decide on the frames that will be shot. Inside a 2 minute video, there might not be many frames, but there will always be the critical ones.
Every storyboard should have frames for:
- Opener
- Problem Statement
- How the solution works
- Call to action
Differentiate the frames and note each one of them in the same sequence as they would appear in the video. Establish each scene in a way that it’s clear to understand who the center of attraction is, who is moving, what the emotion is, and what elements constitute the scene. It is up to you whether you want to draw a shot-by-shot storyboard, or you can change scenes whenever there is a new dynamic action.
 Add the finer details
After deciding on the frames that have to be drawn, add to the boxes, the finer details of each scene:
- Camera/Shot Descriptions
Will it be a close-up, a wide-angle shot, a tracking shot or handheld?
- Script/Dialogue
What is each character supposed to say? What’s their emotion? And what text will come on the screen apart from dialogues? Is there a voiceover? Add that too!
- Location
Is it an indoor or an outdoor sequence? What will the set look like?
- Action
What’s happening on the screen? What are the movements? What is the body language of each character
- Transitions
Are you going to Zoom in or Zoom out in one frame? How do you shift to another scene? How did you land on this scene? What are the effects? When will you cut?
- Music and sound effect descriptions
What kind of background music or song are you incorporating in a particular scene? For how long do you plan to have it in a scene? What element is that sound connected to?
Don’t get stuck on each and every detail. Those will flesh out as you start the production. Just focus on the general theme and goal of your video.
Start Drawing
Drawing for a storyboard doesn’t have to perfect. Start with doodles, or draw stick figures but mention the key elements. The purpose is to show what is happening in a scene as accurately as it can be displayed. Just try to be as clear as possible so that anyone can understand your vision and the perspective from which the scene has to be shot.
- Highlight the focus elements
- Use arrows to point out which way the objects, the actors or the camera has to move.
- Draw from a perspective that shows the level of zoom in or zoom out you want: if the character/object fills in the frame, it’s a close-up
- Draw all the objects/people you want in a scene inside the frame.
Revise. Redesign. Repeat.
Once you complete your storyboard, go through it and make sure you remember each and every sequence before you pitch it to someone else. Make changes if you think any scene is going on for too long or isn’t given much attention. Take note of what others have to say, consider their point of view and do the alterations wherever needed.
The more you revise it, the better the output will be. Once everything is finalised present it to people, note down the assets that will be needed, and you can now start working on the production.
Storyboards are an essential part of a video making process. Breaking your video scene by scene will help you visualize how your idea will look in the form of a video. It’s a chance to work on the inconsistencies and eliminate or add any scene to ensure the continuity of the story. It’s also a great way of sharing your idea with other people to help them understand your vision. This eliminates the chance of any slowdowns or misunderstandings later in the stage of production.
You can also estimate the time the video shoot will take and what the final time of the video will be. This is an excellent stage to know what might be the production cost depending upon the elements your frames have and what kind of cinematography you are looking at.
Once you finalize everything, its time to move on to the final stage – production.